Linux hacking part 4: Measuring cache hit and cache miss times in linux.
﷽
Hello, cybersecurity enthusiasts and white hackers!

I continue my series of posts about Linux hacking and linux malware. This is a short but interesting post about one important concept that will be demonstrated in this and the next posts in this series.
a few words about levels of cache memory
A Central Processing Unit (CPU) may have several levels of cache memory to store frequently accessed data and instructions. The cache memory is organized into three levels:
L1 cache: quickest yet smallest data and instructions.
L2 cache: slower but larger, data-only.
L3 cache - slowest but largest, data-only.
The lscpu command provides detailed information about CPU architecture, features, and cache size. lscpu shows the L1 cache, L2 cache, and L3 cache sizes, which are crucial to processor performance and caching:
lscpu
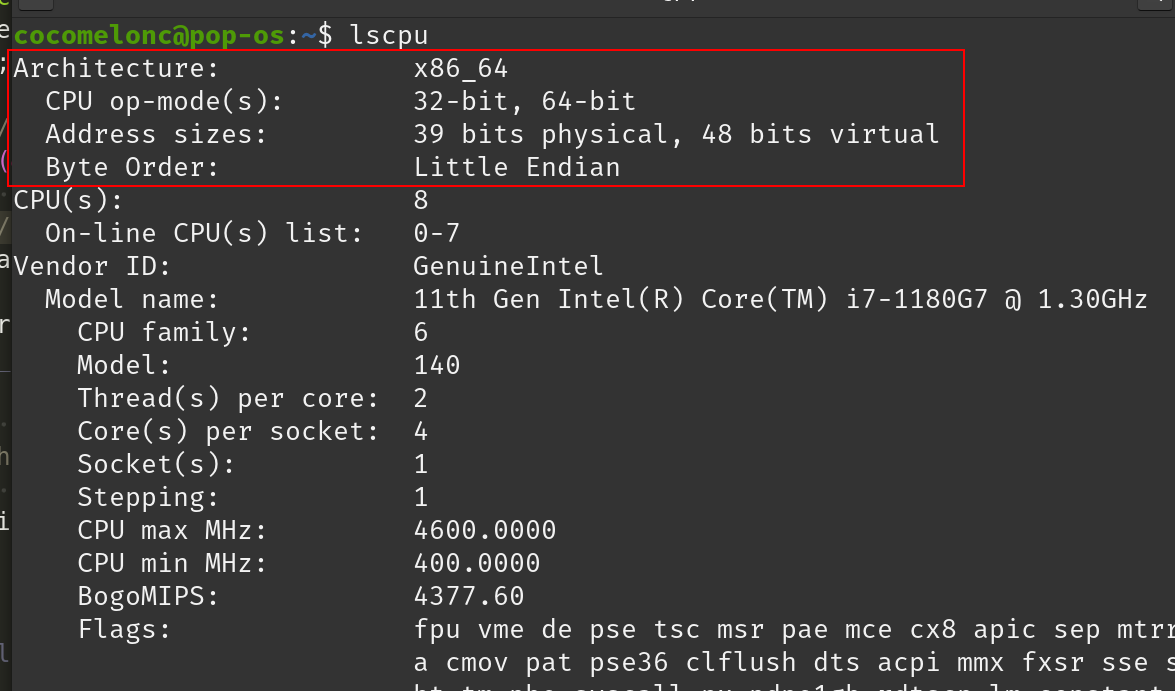
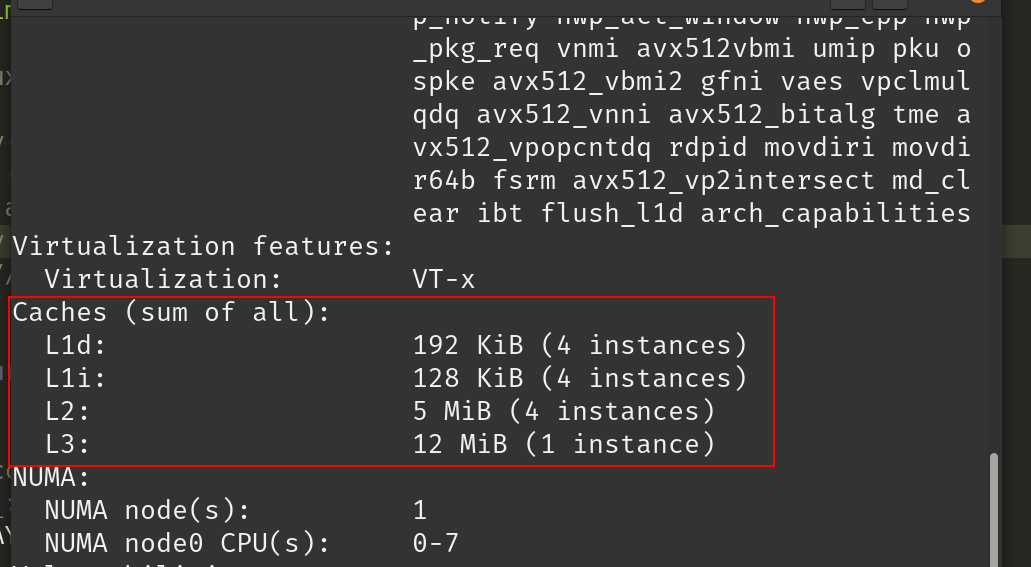
As you can see, the output provides information about the size of the L1, L2, and L3 cache, CPU architecture, and total CPUs.
cache hit and cache miss
Understanding how the CPU cache works is crucial for performance optimization in systems programming, reverse engineering, and security research. The difference between a cache hit and a cache miss can impact the speed of execution significantly. In this blog post, we’ll explore a simple C program that measures the time taken to access cached and non-cached memory locations.
This technique is often used in security research, particularly in side-channel attacks where attackers measure access times to infer sensitive data. However, here we focus on educational and performance optimization purposes.
practical example
Before diving into the code, let’s understand what we’re trying to measure:
Cache Hit - When data is already present in the CPU cache, access is very fast.
Cache Miss - When data needs to be fetched from RAM, which takes significantly longer.
In our example, we’ll:
- Access a memory location that is already in the cache and measure the access time.
- Flush the cache to ensure that a different memory location is not cached.
- Access the new memory location and measure the time taken.
This comparison will help us see the difference between cache hits and cache misses in real-time.
First of all, include necessary headers:
#include <stdio.h>
#include <stdint.h>
#include <x86intrin.h>
#include <stdlib.h>
#include <unistd.h>
#include <string.h>
These headers provide functions for input/output, integer types, intrinsic functions for CPU instructions, memory management, and basic system utilities.
Then define a large array for testing:
#define ARRAY_SIZE (1024 * 1024)  // 1 MB array
uint8_t array[ARRAY_SIZE];
We define a 1MB array to work with, ensuring we can access different parts and observe cache behavior.
At the next step, let’s measure memory access time:
uint64_t measure_access_time(volatile uint8_t *address) {
  uint64_t start, end;
  unsigned int aux;  // auxiliary variable for __rdtscp

  _mm_mfence();  // memory fence to prevent instruction reordering
  start = __rdtscp(&aux);  // start timing
  (void)*address;      // access memory
  _mm_mfence();  // memory fence to prevent instruction reordering
  end = __rdtscp(&aux);  // end timing

  return end - start;
}
This function measures the time taken to access a specific memory address using __rdtscp, an x86 instruction that reads the processor’s timestamp counter.
_mm_mfence() - ensures that the memory operations are executed in order.
__rdtscp(&aux) - reads the timestamp before and after the memory access.
The difference between end and start gives the cycle count taken for memory access.
Then, simulate a cache flush:
void flush_cache() {
  // flush the cache by accessing a large amount of data
  uint8_t *dummy = (uint8_t *)malloc(ARRAY_SIZE);
  for (int i = 0; i < ARRAY_SIZE; i++) {
    dummy[i] = i;
  }
  free(dummy);
}
Why we need this? Since CPU caches automatically manage which data stays in cache, we force a cache flush by allocating and filling a large dummy array. This ensures that previously cached data is evicted.
Finally, we need main execution logic:
int main() {
  uint64_t cached_time, uncached_time;

  // access a cached memory location
  volatile uint8_t *cached_addr = &array[0];
  *cached_addr = 42;  // load into cache
  cached_time = measure_access_time(cached_addr);

  // flush the cache and access a different memory location
  flush_cache();
  volatile uint8_t *uncached_addr = &array[ARRAY_SIZE/2];
  uncached_time = measure_access_time(uncached_addr);

  printf("cache hit time: %lu cycles\n", cached_time);
  printf("cache miss time: %lu cycles\n", uncached_time);

  return 0;
}
What is going on here?
- we first access an element (
array[0]) to ensure it is loaded into the cache. - we measure and store the access time as
cached_time. - we then flush the cache using
flush_cache(). - after cache flushing, we access a different memory location (
array[ARRAY_SIZE/2]). - we measure the time taken to access the uncached memory and store it as
uncached_time. - finally, we print both values.
So the full source code of this example is looks like this (hack.c):
/*
 * hack.c
 * measuring cache hit and cache miss times
 * author @cocomelonc
 * https://cocomelonc.github.io/linux/2025/02/01/linux-hacking-4.html
 */
#include <stdio.h>
#include <stdint.h>
#include <x86intrin.h>
#include <stdlib.h>
#include <unistd.h>
#include <string.h>

#define ARRAY_SIZE (1024 * 1024)  // 1 MB array

uint8_t array[ARRAY_SIZE];

uint64_t measure_access_time(volatile uint8_t *address) {
  uint64_t start, end;
  unsigned int aux;  // auxiliary variable for __rdtscp

  _mm_mfence();  // memory fence to prevent instruction reordering
  start = __rdtscp(&aux);  // start timing
  (void)*address;      // access memory
  _mm_mfence();  // memory fence to prevent instruction reordering
  end = __rdtscp(&aux);  // end timing

  return end - start;
}

void flush_cache() {
  // flush the cache by accessing a large amount of data
  uint8_t *dummy = (uint8_t *)malloc(ARRAY_SIZE);
  for (int i = 0; i < ARRAY_SIZE; i++) {
    dummy[i] = i;
  }
  free(dummy);
}

int main() {
  uint64_t cached_time, uncached_time;

  // access an element that is already in the cache (CACHE HIT)
  volatile uint8_t *cached_addr = &array[0];
  *cached_addr = 42;  // load into cache
  cached_time = measure_access_time(cached_addr);

  // flush the cache and access a different element (CACHE MISS)
  flush_cache();
  volatile uint8_t *uncached_addr = &array[ARRAY_SIZE/2];
  uncached_time = measure_access_time(uncached_addr);

  printf("cache hit time: %lu cycles\n", cached_time);
  printf("cache miss time: %lu cycles\n", uncached_time);

  return 0;
}
demo
Let’s see everything in action. Compile it:
gcc -o hack hack.c
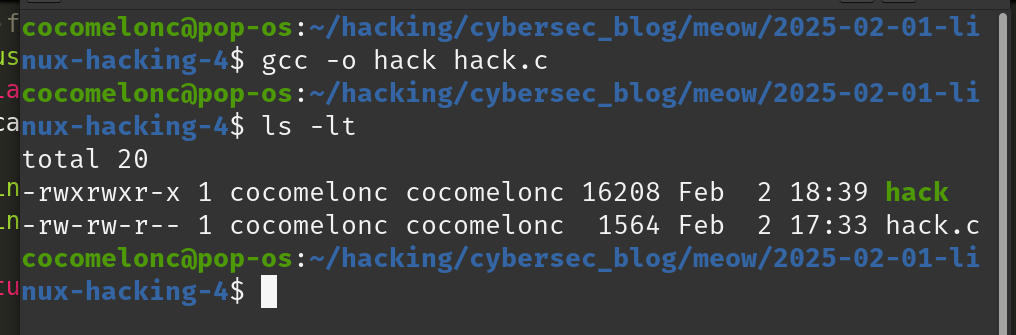
When you run the program:
./hack
you should see something like this:
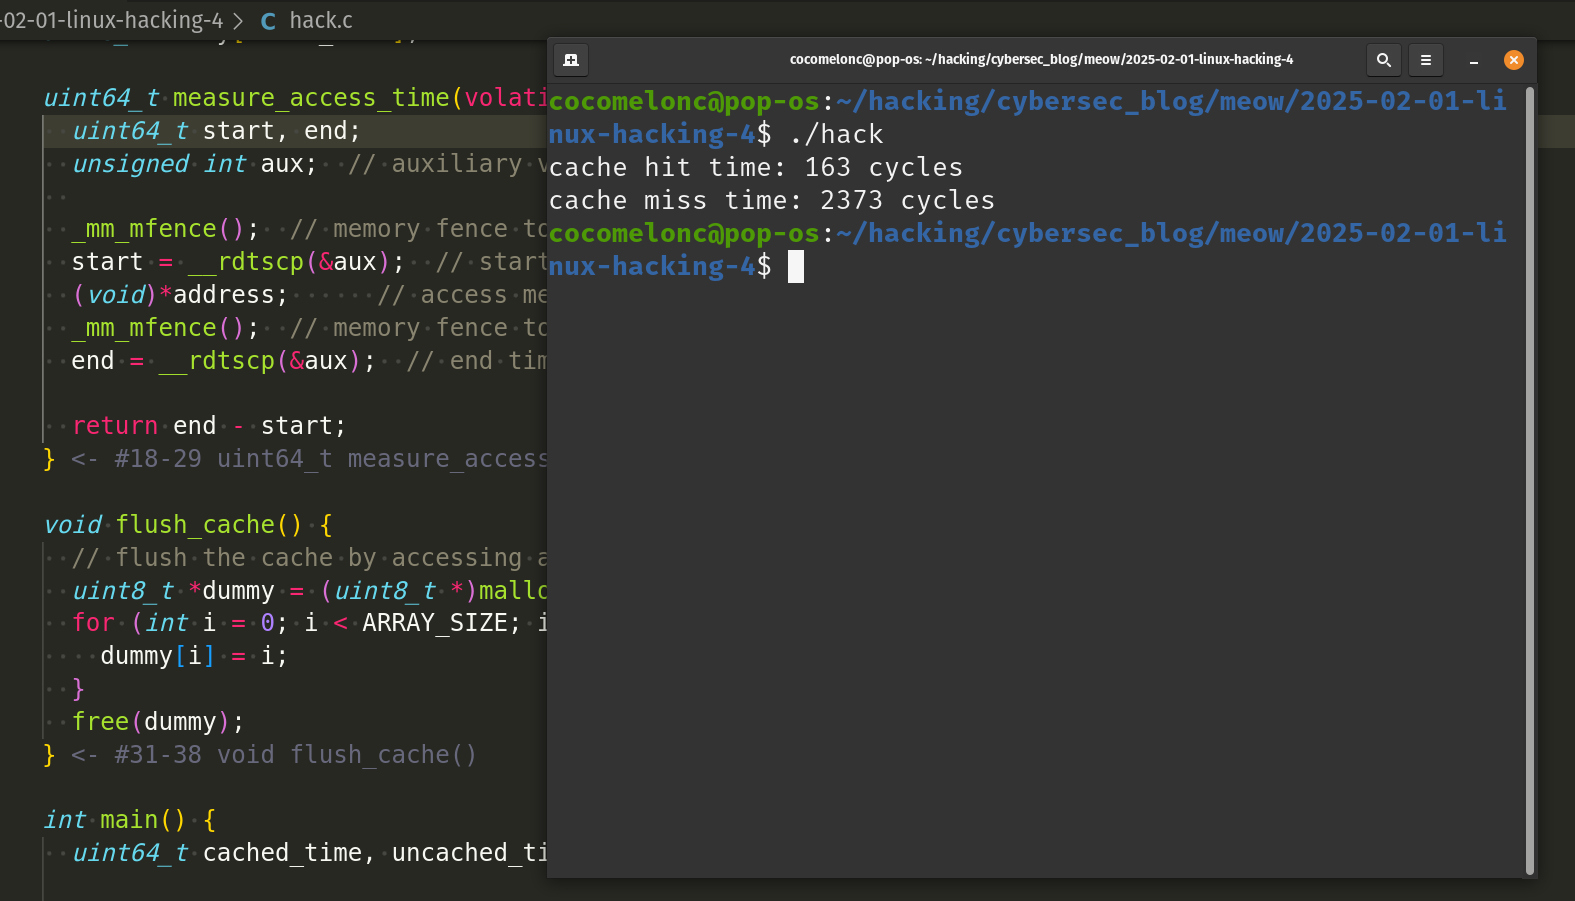
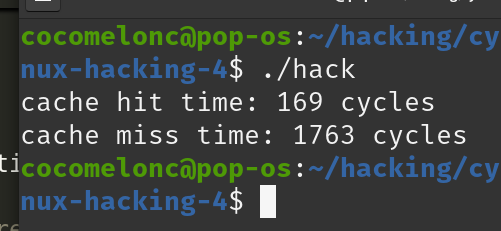
or this:
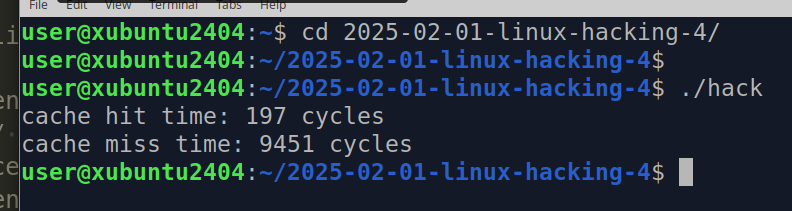
The actual values may vary based on your CPU, cache size, and system state. However, cache misses should always take significantly longer than cache hits.
This technique is particularly used in side-channel attacks where timing differences can reveal sensitive information.
If you’re interested in learning more about low-level performance analysis and side-channel attacks stay tuned for future posts!
I hope this post with practical example is useful for malware researchers, linux programmers and everyone who interested on linux kernel programming and attacking techniques.
Linux malware development 1: intro to kernel hacking. Simple C example
Linux malware development 2: find process ID by name. Simple C example
source code in github
This is a practical case for educational purposes only.
Thanks for your time happy hacking and good bye!
PS. All drawings and screenshots are mine